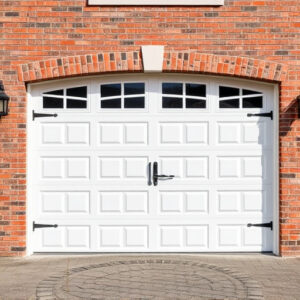
Eliminate Garage Door Grinding with Chain Drive Adjustments
Grinding noises from your garage door opener may indicate problems with the chain drive, caused by w…….

Grinding noises from your garage door opener may indicate problems with the chain drive, caused by worn or misaligned components. Regular maintenance, like lubricating the chain and adjusting tension springs, can prevent these issues. If noise persists, consult a professional Garage Door Repair service for thorough inspection and adjustments to ensure smooth operation.
Tired of that annoying grinding noise from your garage door opener? It’s often a simple adjustment to your chain drive that can eliminate these pesky sounds. Understanding the causes behind garage door grinding is the first step towards a smoother, quieter operation. This guide offers a straightforward, step-by-step process to adjust your chain drive and restore peace and quiet to your garage. Learn how to tackle this common garage door repair with ease.
Understanding Garage Door Grinding Noise Causes

Grinding noises coming from your garage door opener can be a nuisance and may indicate potential issues within the chain drive mechanism. Understanding the causes behind this noise is the first step in addressing the problem effectively. Garage door repair experts often attribute grinding sounds to worn-out or misaligned components, particularly the chain drive. Over time, the continuous movement and friction within the drive system can lead to metal parts becoming damaged or misaligned, resulting in a grating or squealing sound when the garage door is opened or closed.
Regular garage door maintenance plays a crucial role in preventing such issues. Lubrication of the chain and other moving parts is essential, as it reduces friction and wear. However, if the noise persists or becomes more pronounced, it’s advisable to consult a professional Garage Door Repair service to inspect and adjust the chain drive, ensuring smooth operation once again.
Step-by-Step Guide: Adjusting Your Chain Drive
Step-by-Step Guide: Adjusting Your Chain Drive
1. Safety First: Before beginning, ensure your garage door is closed and all power to the opener is disconnected. This crucial step prevents accidents while making adjustments. Put on safety gear, including gloves, as a precaution.
2. Locate the Chain: Find the chain drive, usually located near the bottom of the garage door opener. It’s a metal or plastic track that moves the door up and down. Visually inspect for any signs of wear or misalignment.
3. Identify Loose Links: Check each link in the chain for looseness. A slightly loose link can cause grinding noises. Tighten any loose links using a wrench or pliers, being careful not to overtighten.
4. Adjust Track Alignment: Ensure the chain drive is aligned correctly with the track. Misalignment can lead to uneven movement and extra strain on components, resulting in noise. Use a level to ensure the track is straight and properly positioned.
5. Tension Adjustment: Loosen the tension spring (if applicable) and adjust it until the chain moves smoothly without jumping off the track. Too much or too little tension can cause grinding noises. Refer to your opener’s manual for specific instructions on how to do this safely.
By addressing chain drive adjustments, you can effectively silence those irritating grinding noises coming from your garage door opener. This simple DIY solution, detailed in our step-by-step guide, is a straightforward way for homeowners to tackle common garage door repair issues and enjoy a smoother, quieter operation.