Prevent Operational Failures: Effective Garage Door Spring Replacement Guide
Garage door springs are vital for smooth operation and security, but they weaken over time, leading…….
Garage door springs are vital for smooth operation and security, but they weaken over time, leading to operational failures. Regular checking and maintenance prevent costly repairs, with replacement recommended every 7-10 years (though factors like frequent use or weather can shorten this). Signs of strain, such as difficulty opening/closing or twisted springs, indicate the need for replacement. A simple, step-by-step guide helps you replace springs, extending your garage door system's lifespan through proactive Garage Door Repair.
“Garage door springs are often overlooked yet crucial components, ensuring your garage door operates smoothly and safely. This article guides you through understanding these key parts and recognizing signs of potential failures. Learn when it’s time for a replacement and master the step-by-step process to prevent costly operational disruptions. Discover how regular garage door repair, specifically focusing on springs, can keep your door running efficiently.”
- Understanding Garage Door Springs: The Key Component for Smooth Operation
- When to Replace Your Garage Door Spring: Recognizing Operational Failures
- Effective Garage Door Spring Replacement: A Step-by-Step Guide
Understanding Garage Door Springs: The Key Component for Smooth Operation
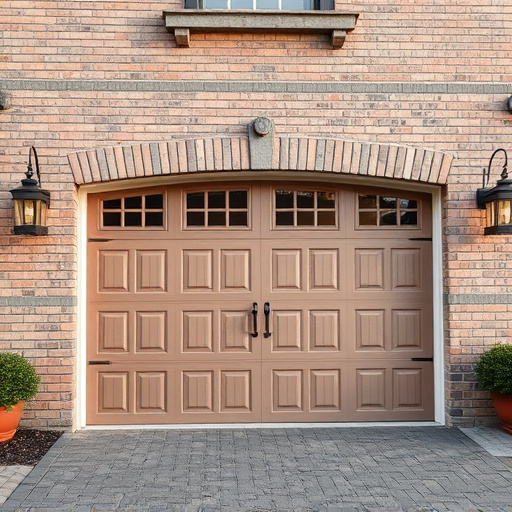
Garage door springs are the unsung heroes of your home’s security and convenience. These coiled metal mechanisms play a pivotal role in the smooth, efficient operation of your garage door. They store potential energy, allowing the door to open and close with ease, and their strength ensures the door remains secure and stable. Over time, these springs can weaken or break due to constant use, environmental factors, or simple wear and tear, leading to operational failures in your garage door system.
Regularly checking and maintaining garage door springs is an essential part of proactive garage door repair. Identifying issues early on prevents costly and inconvenient breakdowns. By understanding the critical role these springs play, homeowners can better appreciate the need for regular maintenance and prompt replacement when necessary, ensuring their garage doors continue to function seamlessly.
When to Replace Your Garage Door Spring: Recognizing Operational Failures
Knowing when to replace your garage door spring is crucial for effective garage door repair and preventing operational failures. While garage door springs typically last 10,000 cycles or around 7-10 years, their lifespan can be affected by factors like frequent use, poor installation, or exposure to extreme weather conditions. If you notice signs of strain, such as a spring that is visibly twisted or damaged, or if your garage door is difficult to open and close, it might be time for a replacement.
Operational failures can manifest in various ways, including doors that stick, fail to fully extend or retract, or make unusual noises when operated. These issues often indicate weakened springs that are no longer able to support the weight of the door securely. Regular maintenance checks and prompt attention to these red flags can help avert more serious problems down the line, ensuring your garage door operates smoothly and safely for years to come.
Effective Garage Door Spring Replacement: A Step-by-Step Guide
Effective Garage Door Spring Replacement: A Step-by-Step Guide
When it comes to garage door repair, replacing springs is a crucial task that can prevent operational failures and ensure smooth operation. The process requires careful consideration and specific tools to ensure safety and effectiveness. Begin by assessing the current spring setup and identifying the type of springs needed for your garage door. Next, gather all necessary tools, including a new set of springs, a jack, and support brackets. Before disassembling, release any tension from the springs to avoid accidents.
Follow these steps: first, disconnect the spring hooks from the door and torsion tube; second, carefully lower the door by hand to ensure no hidden tensions; third, remove the old springs and install new ones, ensuring they are correctly seated in the torsion tube; fourth, reattach the spring hooks securely. After completing these steps, test the door’s operation, ensuring it opens and closes smoothly. Regular maintenance and timely replacement can significantly extend the life of your garage door system.
Regularly replacing your garage door springs is a proactive step in preventing unexpected operational failures. By understanding the importance of this key component and learning when to replace it, you can ensure your garage door continues to function smoothly. Following a simple, step-by-step guide makes garage door spring replacement an accessible task for any homeowner. Don’t let a broken spring disrupt your daily routine; take control with timely maintenance and enjoy the peace of mind that comes with a well-maintained garage door system. Remember, proper garage door repair is crucial for both safety and convenience.